A nature collection can be a set of observations and drawings rather than a pile of leaves. A child might notice a green leaf still attached to a plant, draw it, and compare the drawing with a green reference card. The skill is identifying a selected green area and explaining or showing what was compared. The activity does not require picking plants, touching unknown surfaces, or leaving a safe viewing place. Plants can contain several colors, and their appearance changes with light and season. Describe the particular part that is visible and use a paper model when an outdoor observation is not accessible.
Choose a green reference
Prepare a plain green card and two clear choices, one with a green area and one without. A drawing of a green leaf and a blue paper square can serve as the first examples. Keep the reference visible while the child chooses.
Point to the selected area on each drawing. A leaf picture may have a green blade and a brown stem; both colors can be present. The rule ‘has a green area’ is different from ‘is entirely green.’
The child can point, speak, use gaze or a communication device, or direct a helper. A partner can bring the reference beside the drawing and confirm which part the child intended.
Prepare a safe observation
Choose a familiar place where a plant can be observed without touching or picking it. A view through a window or a plant cared for at home may be suitable. An adult selects the location and handles any plant or material that requires care.
Bring paper and a pencil if the child wants to draw. A green crayon or a reference card is optional. The child can describe a visible area instead of recording it, and a helper can draw according to the child's direction.
Avoid asking the child to taste, collect, or handle an unknown plant. Do not assume that every fallen leaf is safe to touch. The color comparison can be completed from a safe distance or with a prepared picture.
Observe and record one example
Use a clearly visible green leaf still attached to a plant, or a prepared picture if a real plant is not available.
- Point to the selected leaf or picture and agree on which area will be compared.
- Show the green reference card under comfortable light.
- Ask the child whether the selected area looks like the green example in broad color.
- Let the child point, speak, use a device, or direct a helper to indicate the choice.
- Draw the observed leaf or ask an adult to draw it without removing it from the plant.
- Mark the area the child identified as green. Add other visible colors if desired.
- Compare the drawing and reference, noting that the shades may not be identical.
- Ask a partner to locate the selected green area in the drawing.
A conversation about a leaf
Adult: ‘Which part of this leaf looks green to you?’ Child: points to the broad area. Adult: ‘Let's draw that area and compare our green card.’ The child can choose how much detail to include.
If the leaf has a brown edge, a child who points to brown is describing a visible feature. Clarify whether the question concerns the broad green area or the edge. Both observations can be accurate.
A helper can hold the card or draw while the child indicates the location. The plant remains in place. The record belongs to the selected leaf and viewing conditions, not to every leaf.
A plant is not always one color
A plant may have green leaves, a brown stem, flowers of another color, or a leaf with several shades. Ask the child to identify the particular part rather than asking for one color for the whole plant.
If a leaf is yellowing or has brown patches, describe what is visible. It may still have a green area, but it may not be entirely green. State which rule the collection uses.
Color alone does not establish whether a plant is healthy or safe to touch. The activity is an observation of appearance. An adult makes any plant-care or safety decisions separately.
Make a drawing-based collection
Fold a few sheets into a small booklet or use separate cards. The child chooses one observed example per page and draws it or directs an adult to draw. A label can describe the selected green area.
A collection might include a leaf, a patch of grass viewed from a safe place, and a green plant pot. The pot is not part of the plant, but it can be included if the rule is ‘green things we observed.’ State the rule.
Do not collect or press plant material for this activity. A drawing, spoken description, or permitted photograph can record an observation. Avoid recording personal location details when they are unnecessary.
Compare two green examples
Look at two selected green areas, such as a leaf and a green paper card. They may both be called green while differing in shade, texture, or shape. Ask the child what is similar and what is different.
Keep the samples under comfortable, consistent light when possible. A leaf seen outdoors and a card indoors may be viewed under different conditions, so an exact shade comparison may be uncertain.
The child can point to the chosen areas or ask a helper to describe them. A broad color match does not require the objects to match in every property. The leaf's shape and the card's shape can be discussed separately.
Make the first observation easier
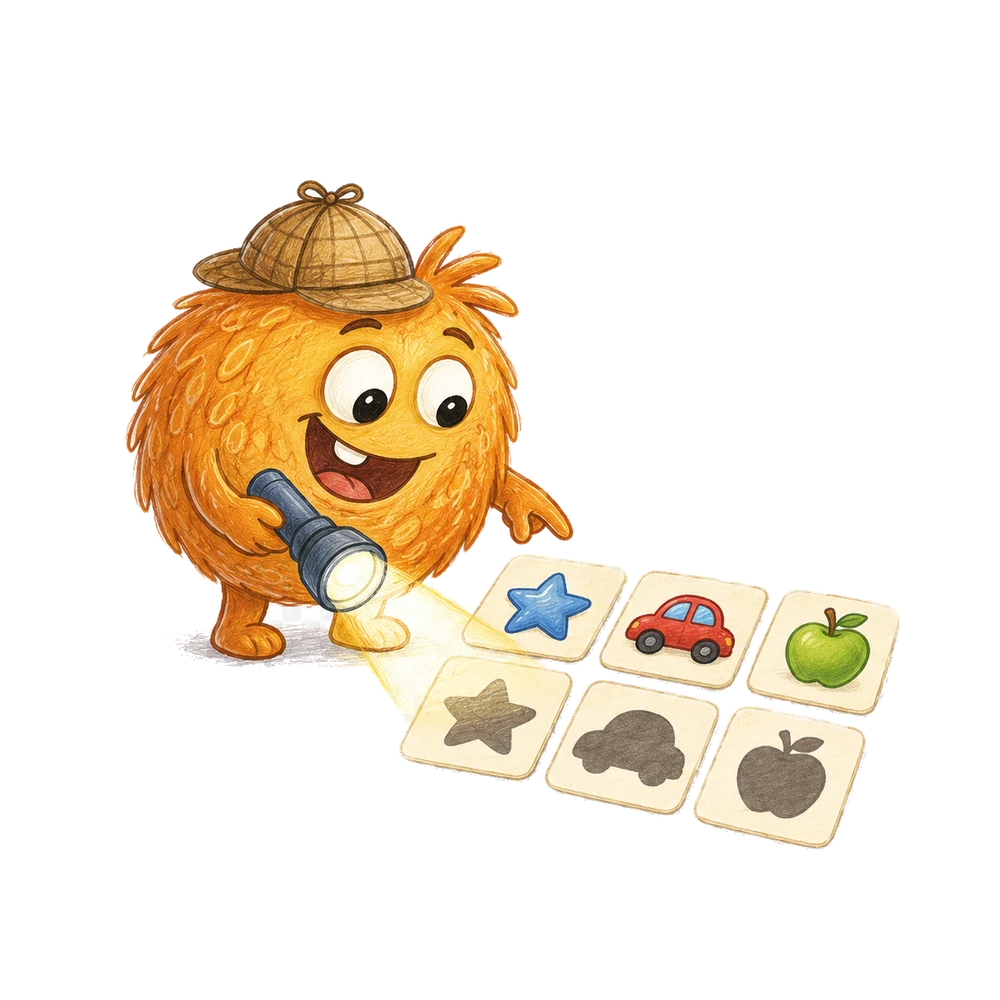
Use a large drawing with a plain green leaf and a clearly blue card. Point to the green reference and ask which drawing area resembles it. Keep both choices available throughout.
A helper can hold the cards or move the chosen one beside the reference. The child may answer with a gesture, gaze, speech, or a device. A single checked example is enough for the first round.
A real plant can be introduced later if the child can view it comfortably and safely. Note whether the example was a drawing, a live plant, or a photograph; these are different kinds of material.
Add a more demanding comparison
Offer drawings of a green leaf, a leaf with green and yellow areas, and a brown leaf. Ask which drawings have a green area. The first two fit under that stated rule.
Then ask which drawing is entirely green in the selected areas. The mixed leaf may no longer fit. Explain the change in criterion before asking for a new selection.
A close-shade comparison can be another task, but use clear samples and acknowledge uncertainty. A more demanding activity should still provide enough visual information for the child to inspect the relevant parts.
A leaf and a green object
Place a green paper leaf drawing beside a green block. They can share a color while differing in shape, material, and meaning. Ask the child to show the green area on each.
A leaf can also be red, yellow, brown, or another appearance depending on the plant and conditions. A block can be many colors. The object name does not determine a single permanent color.
If the child groups the items by material instead of color, acknowledge that observation and return to the stated color question. Changing the rule can create a different valid grouping.
Light and shadow
A leaf in shadow may appear different from a similar area in direct light. Observe from a safe place and describe the conditions. Do not move or pick the plant merely to create a match.
A reference card viewed indoors may not be under the same light as a plant outside. For a close comparison, use suitable samples in consistent light when practical. Otherwise describe the observation broadly rather than claiming exact shade equality.
A photograph or screen may render the colors differently. The image can still represent a green area, but it is not a precise substitute for every viewing condition. Ask the child what they can actually see.
A fallen leaf is not required
Some children may notice leaves on the ground. They can observe and draw one without picking it up. An adult decides whether a location and any material are safe to approach or handle.
The activity works equally well with a leaf still on a plant, a picture, or a paper model. The ‘collection’ consists of chosen observations, not physical specimens.
If the child wants to remember the shape, they can draw its outline or describe it to a helper. The record should identify the selected example and the green area without suggesting that the child must remove anything from nature.
A green object in an indoor picture
Draw a plant with a green leaf in a blue pot. Ask the child to point to the green area and compare it with the reference card. The pot and leaf can have different colors.
If the child points to the blue pot, ask which part they intended and repeat the green-area question. Both parts can be described accurately with their own color names.
A child can add a yellow flower or brown stem. The resulting picture has several colors. Pointing to a specific area makes the description clear to a partner.
A group with no green area
Show a blue card and a brown paper shape and ask which has a green area. If neither does in the prepared set, ‘none’ is a valid response.
Add a green leaf drawing and ask again. The answer changes because a matching example was added. The child can point to the new green area and compare it with the reference.
Do not require a choice when no item satisfies the rule. The child can show that each option was inspected. A clear contrast helps explain what the criterion includes and excludes.
Let the child lead a partner
The child selects a green area in a drawing or safe view and asks a partner to find it. A gesture, spoken clue, or communication device can identify the object and part.
If the picture has several green areas, the partner may need another detail. The child can point to a leaf near a flower or describe its position. A broad clue can be true without identifying a unique part.
The partner checks the reference and the selected area. The child can confirm or revise the clue. The exchange makes the color description useful for locating an example.
Observe and continue
A useful note might say, ‘With a green card and a large leaf drawing, pointed to the green blade after the adult named the selected area.’ Include the material, light, and support when relevant.
One response cannot establish color perception or diagnose a difficulty. If concerns persist across settings, discuss concrete observations with an appropriate professional. Check accessibility and lighting during the activity itself.
For related work, see learning color names with familiar objects and matching colors across different shapes. The colors and creativity activities offer an optional digital continuation.
Choose another observation
On another day, let the child choose a safe view, a drawing, or a familiar object with a green area. Agree on the selected part and keep a reference card available if useful.
The child can add a drawing to the collection or simply describe the example. A helper can record the child's words or point to the relevant area. No plant needs to be picked.
Describe the actual appearance under the available conditions. A green area can differ in shade from the reference while still being a useful broad example. The child can choose another comparison later.
Observe from a window
Choose a safe indoor position with a view of a plant or tree. Ask the child to point to an area that looks green. The adult can describe the selected area without opening a window or approaching the plant.
A distant leaf may be too small to inspect individually. In that case describe the visible green area broadly, such as part of the tree, rather than claiming details that cannot be seen.
The child can draw the view or dictate a sentence for the collection. If no green area is visible, use a prepared drawing or choose another time. The activity does not require a predetermined outdoor result.
Compare a leaf with its drawing
Observe a leaf without removing it and invite the child to draw its visible outline. Add a green area to the drawing if that matches the child's observation. A helper can draw under the child's direction.
Compare the selected part of the drawing with the selected part of the leaf. The paper shape and crayon shade may be approximate. Ask what the child wanted to show rather than demanding an exact copy.
If the leaf has a brown edge or a yellow patch, the child may include that detail. The drawing can record more than one color while still showing a green area. Label the selected part if a partner needs help finding it.
A green leaf and a brown stem
Use a plant picture with a green leaf and a brown stem. Ask which part has a green area and which part is brown. Point to the parts before asking so both participants use the same names.
If the child says the plant is brown, ask whether they mean the stem. That can be a correct description of one part. The leaf can simultaneously have a green area.
A real plant may look different from the drawing. Inspect the actual visible parts rather than applying the picture's colors to every plant. The example teaches how to identify a reference, not a universal color rule.
Compare two leaf pictures
Prepare a drawing of a green leaf and another of a yellow leaf. Ask which drawing has a green area. Keep the green reference card beside them if that helps the child compare.
Then add a third drawing with both green and yellow areas. Under a rule that includes any green area, the first and third drawings qualify. Under a rule requiring an entirely green drawing, only the first does in this set.
The drawings represent possible appearances; they do not establish why a real leaf has a particular color. State the sorting rule and check the selected areas on the actual cards.
A collection with a mixed-color page
The child draws a leaf with a green center and a brown edge. Add the page to the collection if the agreed rule is ‘observations with a green area.’ A label can say which part was selected.
A partner may ask whether the entire leaf is green. The child can point to the brown edge and explain that only part of the drawing is green. The question creates an opportunity to make the rule more precise.
If the collection is later changed to entirely green examples, the page may move to a mixed group. The drawing has not changed; the criterion has. Both arrangements can be explained with the visible areas.
Notice shape without confusing it with color
Compare a long green leaf drawing with a round green paper circle. Their selected areas may share a broad color while their outlines differ. Ask the child to point to the green portions and then trace the boundaries.
A child who groups two leaf drawings by shape is using a different rule from a color sort. Acknowledge the similarity and state which property the current round examines.
A green leaf and a yellow leaf can have similar shapes but different colors. The same examples can support more than one comparison when the chosen feature is named.
A green pot and a green leaf
In a picture, color a plant pot green and leave the leaf yellow. Ask which part is green. The pot is a green object, but the pictured leaf is not green in this example.
Change the drawing so the leaf also has a green area. Now both pot and leaf can be included in a collection of green things. If the collection is specifically about plant parts, the pot is outside that stated category.
The child can explain the difference by pointing. Color and object category are separate criteria. A partner should know whether the task asks for any green object or only a selected plant part.
Compare the same view on another day
If the child wants to revisit a familiar view, draw or describe what is visible on each occasion. A leaf's appearance or the light may differ. Do not assume a particular change will happen.
Place the records side by side and ask what the child notices. If one drawing has more yellow, that describes the drawing; check the actual plant before claiming the observed leaf changed in a particular way.
A drawing is a record chosen by the child and can omit details. Add a simple date or description only if useful and agreed. The activity does not require storing a precise location or photographing people.
A shade that is hard to name
Some samples may look yellow-green or differ from a plain green reference. Ask the child how they would describe the sample and compare it under comfortable light. Everyday color boundaries are not exact for every viewer.
If the goal requires a definite choice, use more distinct examples. If the child wants to discuss the ambiguous sample, accept a descriptive answer such as ‘between the two cards’ when that reflects the observation.
Do not force an exact match between an outdoor plant and an indoor card viewed under different light. A broad observation can be useful without claiming a precise measurement.
A partner reads the collection
Invite a willing partner to look at the child's drawing and find the area marked green. The child can point, name the part, or ask a helper to read the label.
If the partner points to a different green area, the child can add a location clue, such as ‘the leaf beside the flower.’ More than one area may satisfy the color clue, so an extra detail can identify the intended one.
The partner can ask where the example was observed in general terms, such as ‘through the window,’ without needing a precise address. Share the record only with the child's agreement.
Count drawings, not collected leaves
If the booklet contains three observation drawings, point to each page once and count three drawings. The number describes the records in the booklet, not necessarily the number of leaves on a plant.
One drawing may show several leaves. If the child wants to count leaves in that picture, define that new unit and inspect the visible marks. A drawing can simplify or omit parts of the real scene.
Adding a page changes the number of records. Recount or add one to a verified total. No physical plant material is needed for the counting extension.
Helpful answers
Do we need to pick leaves?
No. Observe from a safe place and use drawings, descriptions, or appropriate pictures to make the collection.
Can one plant have several colors?
Yes. Name the particular leaf, stem, flower, or area being compared.
Does every leaf look green?
No. Appearance varies among plants and with conditions. Describe the actual visible example.
Can a child participate indoors?
Yes. A drawing, a window view, or a suitable plant at home can provide an accessible comparison.
Does this activity diagnose color vision?
No. One response has several possible explanations. Discuss persistent concerns with an appropriate professional.
Turn a little idea into an adventure.
Try a short activity together, then bring the discovery back into your day.
Colors and pattern practice